
Canva Templates is reader supported. When you buy through links on our site, we may earn an affiliate commission. Learn more
When trying to upload media onto Canva, errors sometimes occur on the user end or due to issues with the Canva platform itself.
From having an unstable internet connection or uploading incompatible files to experiencing issues due to general site maintenance, there are several factors that can contribute to Canva upload errors.
In this guide, we’ll explore:
- Some of the most common reasons why Canva uploads experience errors
- Different examples of common Canva upload error messages
- Nine different solutions to try for resolving Canva upload errors.
Let’s take a closer look!
Why Do Canva Upload Errors Happen?
Canva upload errors typically occur due of issues related to your images or the website itself. Generally,
Canva is quite clear with its error messages, allowing you to identify and resolve the issue quickly most of the time.
1. Unstable Internet Connection
If the Canva error is due to your internet connection, the message will likely read “Please check your network settings”, and the platform will prevent you from accessing any internal features.
Within Canva, an internet connection is vital for sharing your work for collaborations, automatic saving of documents, and storing data on the cloud.
2. Broken Site Data
You may stumble across a broken link to data on Canva at some point during your upload process.
This is an issue Canva will need to fix themselves by updating the path of the source file to reflect any changes in data location.
3. Unsupported or Corrupted Files
Upload errors occur when you’re trying to upload files that are unsupported by Canva, such as Photoshop Documents (PSD) or Tag Image File Formats (TIFF). Note that among Adobe formats, Canva only supports Illustrator files.
Similarly, if the file itself is corrupted, Canva will be unable to process it completely – resulting in upload errors.
4. Storage
Canva has different storage capacities for each Canva membership.
With a basic Canva account, you receive up to 5GB of media storage, which is instantly upgraded to 100GB with Canva for Education and Canva for Nonprofits accounts. The maximum Canva storage is 1TB and is reserved for Canva Pro and Canva for Teams.
An error message when uploading a file may indicate that you’re lacking sufficient storage space!
5. File Size and Format
When you try to upload a file format that is incompatible with Canva, an explicit error message will occur that typically reads: “We could not upload some of your files because they aren’t a format Canva understands.”
If this error message comes up, we suggest that you convert the file you want to upload to a supported Canva format before re-uploading them.
In terms of file size (bytes), Canva generally produces errors when your files are too large. Check first the file size before attempting to upload or use an image compressor, but be mindful as this may affect the photo’s quality!
6. Site Downtime
Website downtime occurs when a website is unable to provide general services to users for a period of time.
Sometimes, a Canva upload error occurs because the platform itself is under maintenance or currently experiencing external issues.
Examples include server overload, cyber-attacks, issues with hardware or software, or a minor error in the code.
During these instances, you may not be able to upload to Canva.
How to Fix Canva Upload Errors
| Canva Upload Errors Solution | Description |
| Check Internet Connection | Ensure you have a stable internet connection and that your Transport Layer Security (TLS) version is 1.2 or above. |
| Check Canva Operational Status | Visit Canva’s status page to check if there are any site or app incidents or outages. |
| Try Another Browser | Switch to a different browser, such as Google Chrome, Mozilla Firefox, or Safari. |
| Check Canva Upload Requirements | Make sure your files comply with Canva’s regulations and requirements for size and file type. |
| Check Account Storage | Contact Canva Support to check how much storage space you have and delete unnecessary files to clear up storage. |
| Use Incognito or Private Mode | Use this mode to disable plugins and cached content that may be causing conflicts with Canva’s functionality. |
| Clear Your Cache and Cookies from Browser | Clear your browser’s cache and cookies, which may resolve upload errors. |
| Disable Web Extensions | Disable browser extensions that may be interfering with Canva’s functionality. |
1. Make Sure Your Internet Connection Is Working
While you can technically download Canva graphics beforehand (but make sure to check for copyright) to use in external programs while offline, the Canva platform and app both require a stable internet connection to work.
If you’re experiencing Canva upload errors, check first that you have a strong and stable internet connection. It’s definitely worthwhile to assess your internet speed first before attempting other solutions.
If that doesn’t resolve the issue, refresh your connection and check that your Transport Layer Security (TLS) is version 1.2 or above (not 1.0 or 1.1 since they are no longer considered secure).
Checking the connection’s TLS version is pretty straightforward, but the exact process depends on your browser.
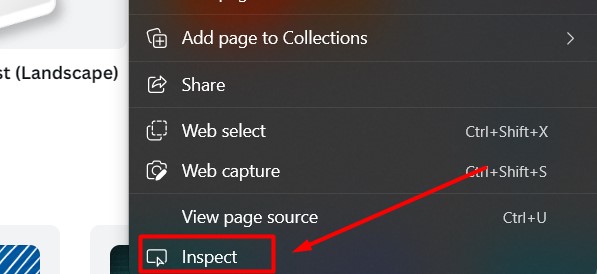
Using Microsoft Edge, you’ll find the connection’s TLS version by accessing the Canva website, right-clicking the page, and opening “Inspect”.
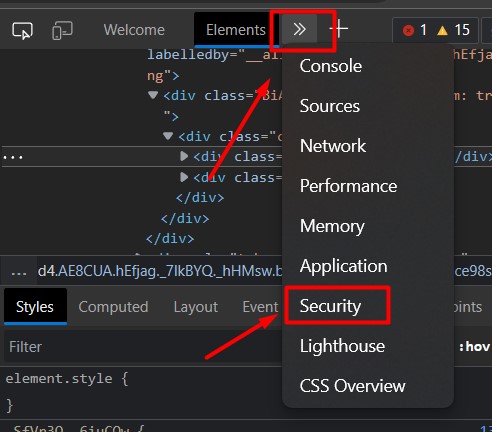
A window will appear on the side, click on the three arrows at the upper right area and look for “Security” and click on it
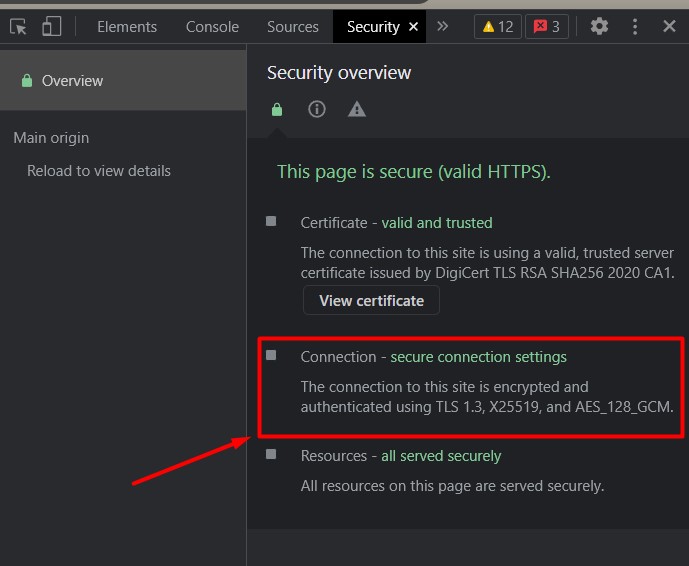
Find “Connection” and you should see the exact version of TLS that the connection uses.
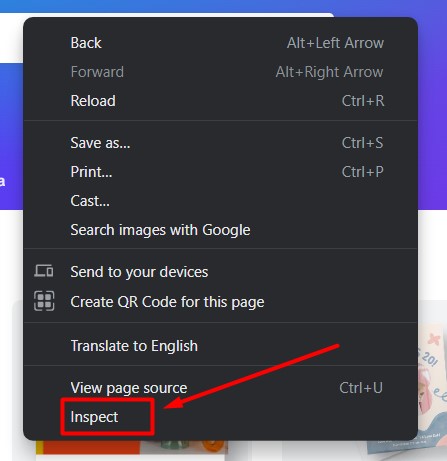
For Chrome, right-click on the webpage and tap “Inspect”.
A side window full of confusing code will appear, but don’t worry! At the top bar, click on two arrows facing to right, and an option for “Security” should appear.
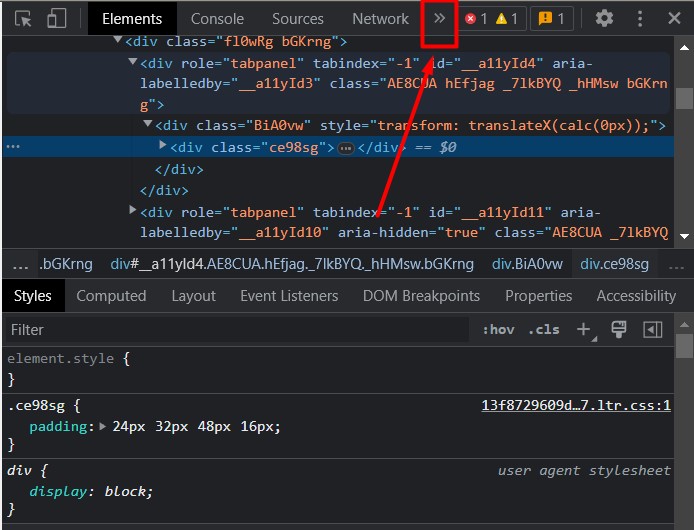
Here, look at the “Connection” heading, you should find the TLS version you’re using.

Ensuring that you have enabled the correct version of JavaScript for your browser is just as important. For instance, Chrome requires version 57 and above, while Safari needs you to be on version 12 or higher.
2. Check Canva Operational Status
To check if Canva is down, access different websites such as Is It Down Right Now or Down Detector and enter Canva’s URL.
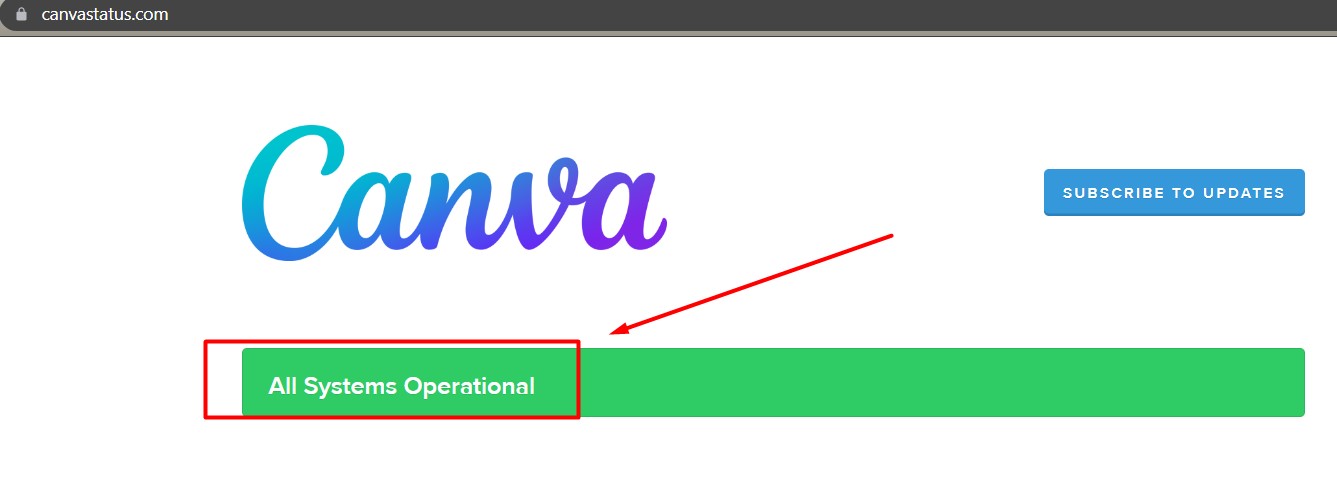
If you want to see the official Canva status, go directly to the Canva Status page, a repository of regular reports concerning any errors or incidents with the platform.
If there are no issues, you should find a green bar at the top with the statement “All Systems Operational” written across it.
Try Another Browser
Errors may also arise from settings that you have configured (or that have been automatically set for you) in regard your browser or internet connection.
To eliminate a Canva upload error that’s caused by your browser, it’s a good idea to try a different browser and see if the same error occurs with the same message. One thing to note, however, is that Canva no longer supports Edge Legacy since 2021.
Alternative browsers include Google Chrome, Mozilla Firefox, Safari, Microsoft Edge, or Opera. For optimal performance, Canva prefers the first three browsers.
3. Make Sure Your Files Fit the Canva Upload Requirements
Canva has a set of regulations when it comes to what kind of elements and media you can design.
If you’re having trouble uploading a file, check if it meets Canva’s upload requirements. The platform has a comprehensive list of specifications for each type of media that you upload.
For instance, audio files must not exceed 250 MB in size while videos should be well under 1 GB to ensure that the uploading process doesn’t encounter any problems.
4. Check Account Storage
To check how much storage you have, you’ll need to check with Canva Support as there’s currently no way to see it from the dashboard.
If you’re nearing your account’s storage limits, you need to clear up some space for new uploads. To do this, simply head over to “Uploads”,

select the media files you want to delete, then hit the “Move to trash” option.
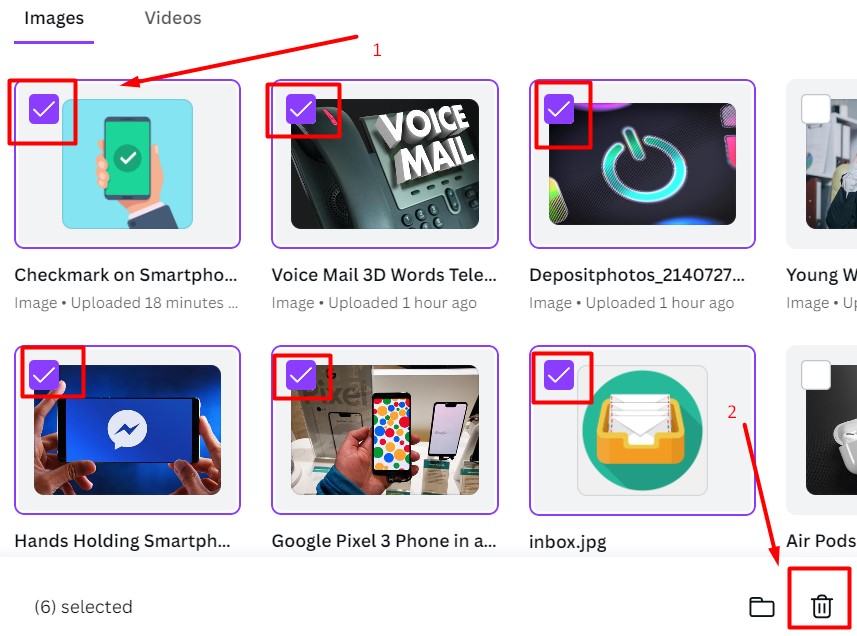
For deleting files en masse, select multiple files and tap the trash icon at the bottom of the page. Canva also offers resources on managing your uploads to guide you in deleting files.
5. Use Incognito Mode
Using Incognito or private mode on a browser disables plugins that may interfere with Canva’s functionality. Doing this helps you identify if cached content and user data (or cookies) are causing your upload error.
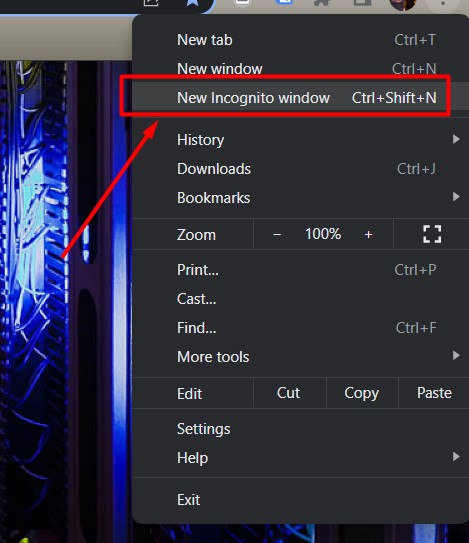
There are many ways to activate private mode on your browser. For Chrome, simply select the three dots in the top-right corner

and select “New Incognito window”.
Firefox users should also tap the three horizontal lines in the top-right corner and choose “New Private Window”. Similar to Chrome, Safari users can activate private browsing by selecting the “File” menu and selecting “New Private Window”.
6. Clear Your Cache and Cookies from Browser
Cached data allows your browser to remember various site data and helps it load the same pages much more quickly for future sessions.
Occasionally, however, the cache can interfere with Canva’s normal functionality. When this happens, clearing the cache might help solve the problem.
To clear your cache in Chrome, navigate to the three dots on the top right of the browser and choose “More tools”,
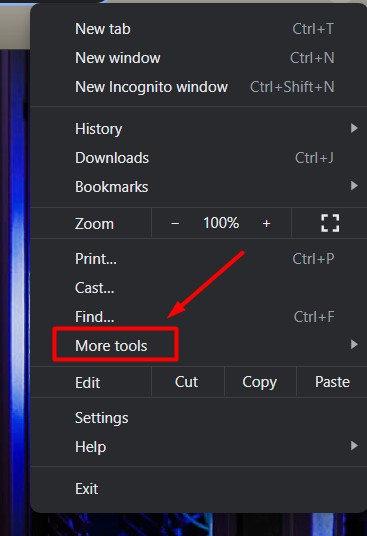
then “Clear browsing data”, and choose “All time” for the time range.
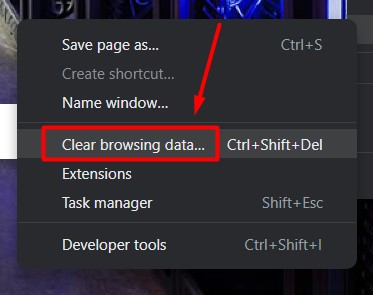
Make sure that all three checkboxes — “Browsing history”, “Cookies and other site data”, and “Cached images and files” — are selected before you click the “Clear data” button.
Keep in mind that clearing your cache and cookies may also log you out of Canva, so you’ll need to log back in again!
7. Disable Web Extensions
Some web extensions may also interfere with uploading files to Canva. It can therefore be a good idea to disable some or all web extensions and see if they’re causing the problem.
On Google Chrome, the three dots on the top-right corner are where you’ll find “More tools” and “Extensions”. Disable extensions by ensuring that the toggle switch next to each extension is disabled (gray), instead of enabled (blue).
For Mozilla Firefox, click the three horizontal lines at the top-right corner, then “Add-ons and themes”, and “Extensions”. As with Chrome, click the blue toggles to disable an extension.
Finally, for Safari users, go to “Settings” or “Preferences”, then “Extensions”, and deselect the checkboxes for extensions you want to disable.
You can uninstall extensions by choosing the extension and using the “Uninstall” button. To stay on the safe side, we recommend not uninstalling extensions.
8. Close and Refresh Canva/Logout and Login
Finally, if all else fails, you can try remedying issues with the Canva platform or app by reopening or refreshing Canva and logging in and out.
To log in and out, click on your profile picture and choose “Sign out”. Enter your account details again as you normally would before trying to reupload.
Key Takeaways
Canva upload errors will either be within your control (such as ensuring your files are compatible and that your browser and settings are optimal) or out of your control (as when the Canva platform itself is having issues).
To avoid upload errors on Canva, the best methods are:
- Confirming that you have a stable internet connection
- Using a compatible browser free of conflicting caches, cookies, and extensions; and
- Having sufficient account storage for the appropriate files.
If you’re confident that there’s nothing more that you can do to resolve the upload error yourself, we recommend that you seek further assistance from Canva Support!