
Canva Templates is reader supported. When you buy through links on our site, we may earn an affiliate commission. Learn more
Canva is an amazing design tool that can be used for a variety of different purposes.
Whether you’re crafting a video thumbnail, sorting out web page designs, or making the best presentation you possibly can, the wide variety of templates and tools the platform offers can speed up your creation process immensely!
There are plenty of tips and tricks you can use to create your designs even more quickly.
From hidden features that help to jumpstart your project to secret tricks that increase the impact and reusability of your designs, there’s a wide range of ways to improve your productivity on the platform.
In this article, we’ll be covering a selection of tips and tricks for using Canva, including:
- Other tools that can be used effectively in combination with Canva
- Maximizing the efficiency of the design process with Canva’s tools
- Using Canva instead of an external tool to help publish and present your designs.
Let’s get into it!
1. Leverage Pexels & Pixabay
One factor that makes a design great is choosing the perfect set of images to complement your text.
Images are quite tricky to create, however. Whether it’s trying to get the best real-life photo or crafting your own artwork, there are so many things that you need to do to bring the perfect image to life.
Additionally, paying someone to do it for you means you’re burning money that you could be using for something else in the design process!
Instead of either of these options, you can use free online image libraries such as Pexels or Pixabay to source your images quickly, easily, and cheaply.
Images under Pixabay’s standard license are free to use for most non-commercial and commercial purposes without attribution, making them the perfect choice for just about any design project.
Pexels’ license is similarly permissive and also grants explicit permission to modify the images hosted on the site as you see fit.
And with more than 3 million images hosted between the two sites, you’re sure to find something perfect for your next project!
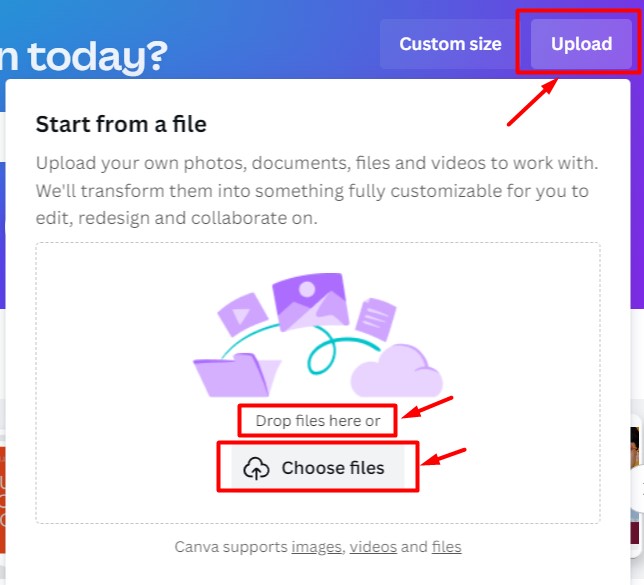
2. Quick Image Uploads with Drag and Drop
Now that you’ve picked out the perfect set of images, you’ll want to make sure that you can get them in the right place as soon as possible.
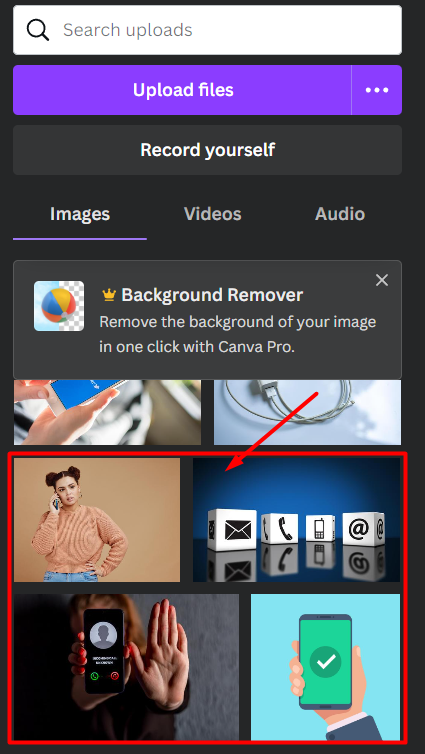
Rather than painstakingly going through a manual upload window for each image you use, you can simply have your file system application of choice open and drag and drop images into the “upload” tab of Canva to upload them in bulk.
Once they’re loaded, they’re easy to drag and drop onto your design as well – making the process smooth and simple.
3. Group Elements Together for Easy Editing
With Canva, you have the option to use a variety of images, text, and other elements to make a design pop. Occasionally, however, that’s precisely what makes editing a project quite tricky!
Picture the scene: you’ve put together the perfect arrangement of background, text, and foreground images for the central element of your work.
They’re all in the right place relative to one another – but to move them into the right place on the overall image, you have to drag each one individually over!
This messes up your perfect alignment and leads to significant delays in the design process while you try to recreate what you had.
Nobody wants to be doing this! Fortunately, Canva allows you to group related items together so that you can move each subsection of your design as if they were just one object.
Simply click and drag to select the objects you want to group (or, if things are a bit too close, hold shift while you click on each individual item) and then hit the “Group” button in the editor’s toolbar, or CMD/CTRL+G.

Now, you can move the particular elements around without disturbing their relative positions!
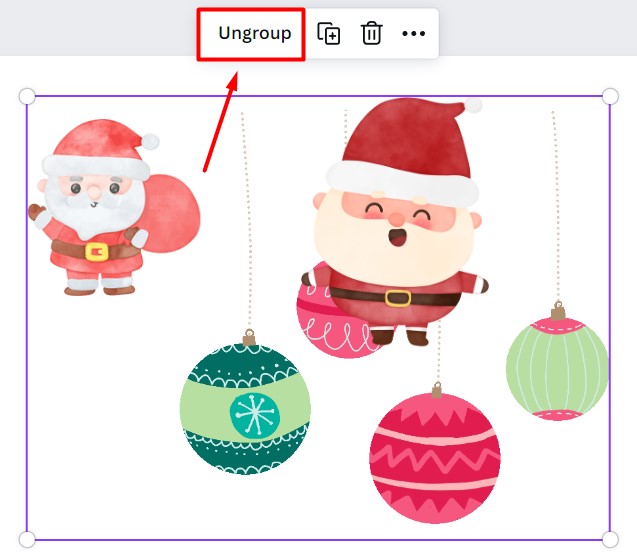
If you decide you want to mix things up a little, there’s always the option to work on the individual components by selecting them and then clicking the “Ungroup” button on the toolbar.
4. Add Clickable Links to PDFs
Making sure that the PDF outputs from your designs are as user-friendly as possible is key to ensuring that your project has the best chance of success!
Adobe themselves – one of the highest-profile companies involved with PDF creation – note that adding clickable links to your PDF document is a great way to improve readability and user experience.
As such, you’ll definitely want to ensure that you include these links whenever necessary.
The good news is that you won’t need an external tool. When designing on Canva, you can add links that will show up in a PDF document without leaving the platform.
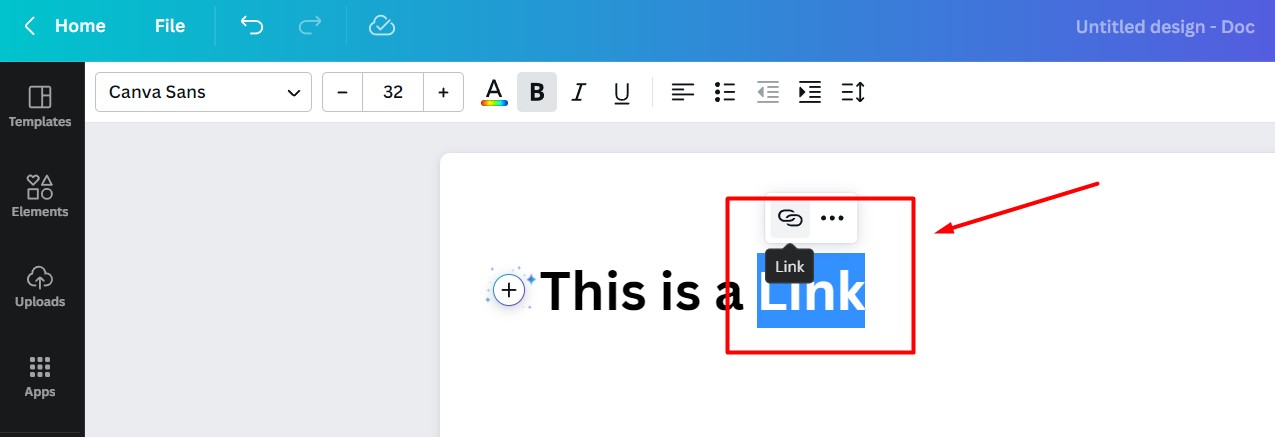
Fortunately, it’s not too tricky, either! Simply select the element that you want to link to something, then click on the link icon (which looks like a chain) in the toolbar.
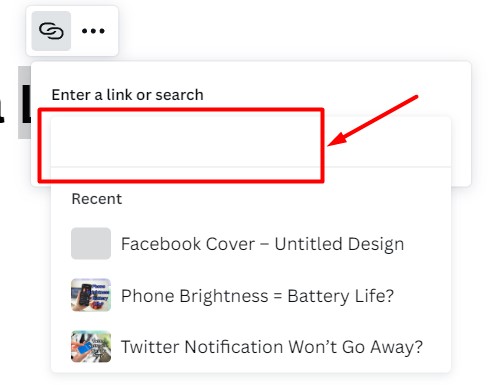
From there, it’s as simple as pasting in a web link or selecting a page within the document from the relevant dropdown section.
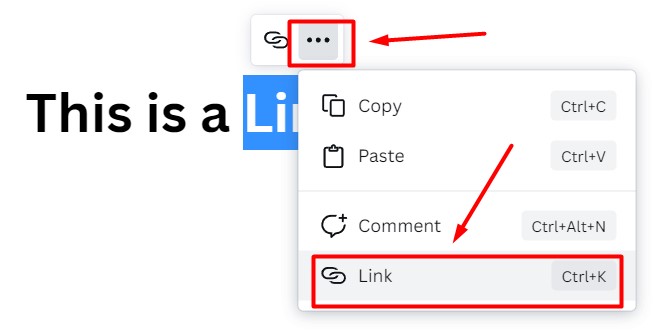
If you can’t see the chain icon, try opening the menu hidden behind the three dots in the toolbar.
Of course, this only works for PDFs; these links won’t work if you export the design in a different format, such as an image or a video.
Unfortunately, this also means that you won’t be able to put clickable links within your social media designs such as those for Facebook or Instagram.
5. Animate Your Designs with the Animation Feature
If a picture tells a thousand words, a video must be a novel!
After all, they’re technically just a lot of pictures in sequence. When done right, animations will make your designs stand out and add a crucial visual appeal to captures a viewer’s interest.
Canva offers two kinds of animation features: one that’s free and one that comes as part of its paid Pro plans. Both are great choices for those looking to add a little more movement to their projects.
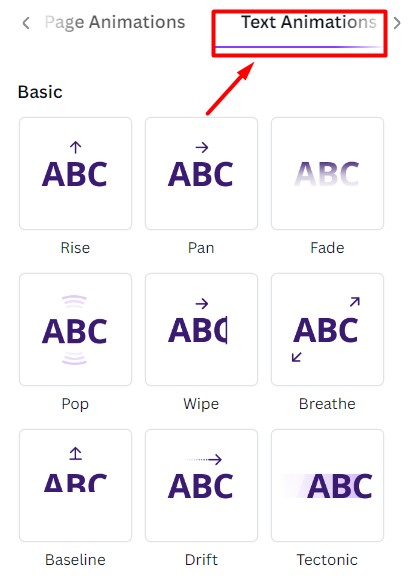
To insert an animation into your design, simply select the object or page you want to animate. Then, navigate to the “Animate” option on the toolbar to bring up the animation panel on the left-hand side of your screen.
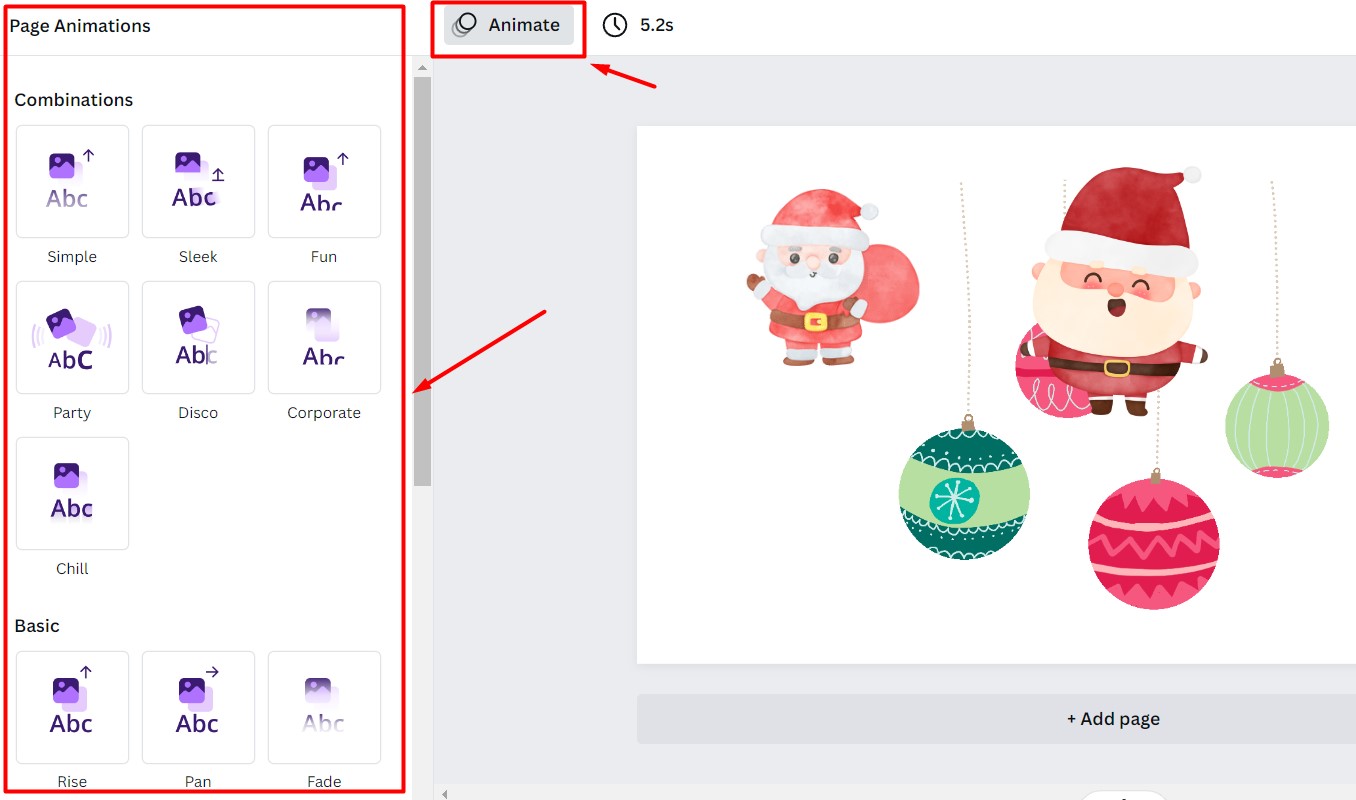
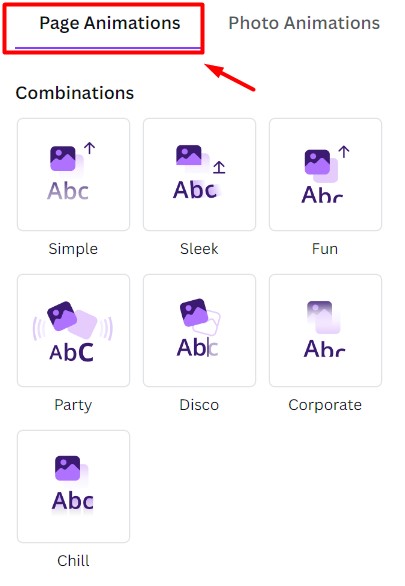
When it comes to animating pages, you’ll want to select an animation type from the “Page Animations” tab.
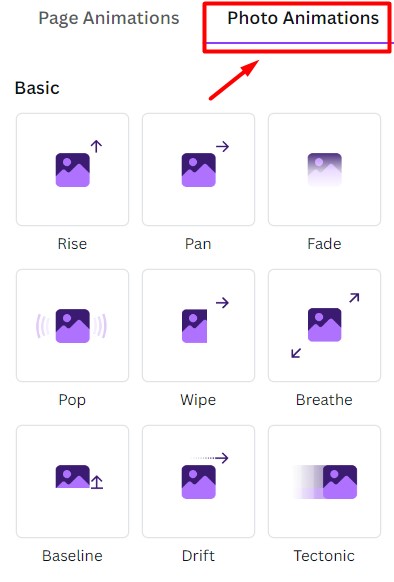
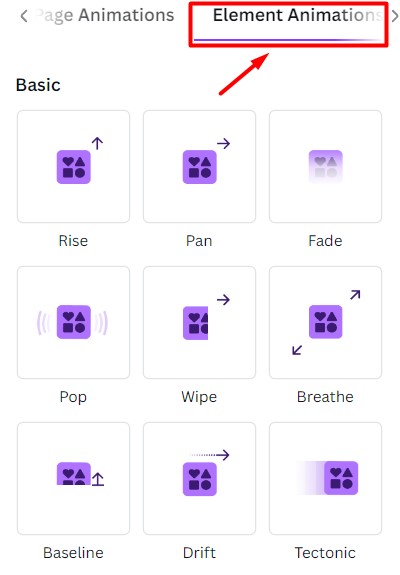
For animating objects, choose from either the “Element”, “Photo”, or “Text Animations” tabs, depending on what exactly you’ve chosen to animate.
Unfortunately, Canva’s animation tool is currently a bit limited in terms of how much you can customize the duration, start time, and order of the animations you add. However, for those without major animation needs, this is still an excellent choice.
6. Create Your Website with Canva’s Web Design Tools
Canva isn’t just for static work either. Sure, it’s great for social media posts, PDFs, posters, and more, but it can also be used to quickly design a web page!
Not only that, but Canva also allows you to have a free one-page website hosted on its servers! This way, you get to put up a quick product promo or small site with minimal hassles.
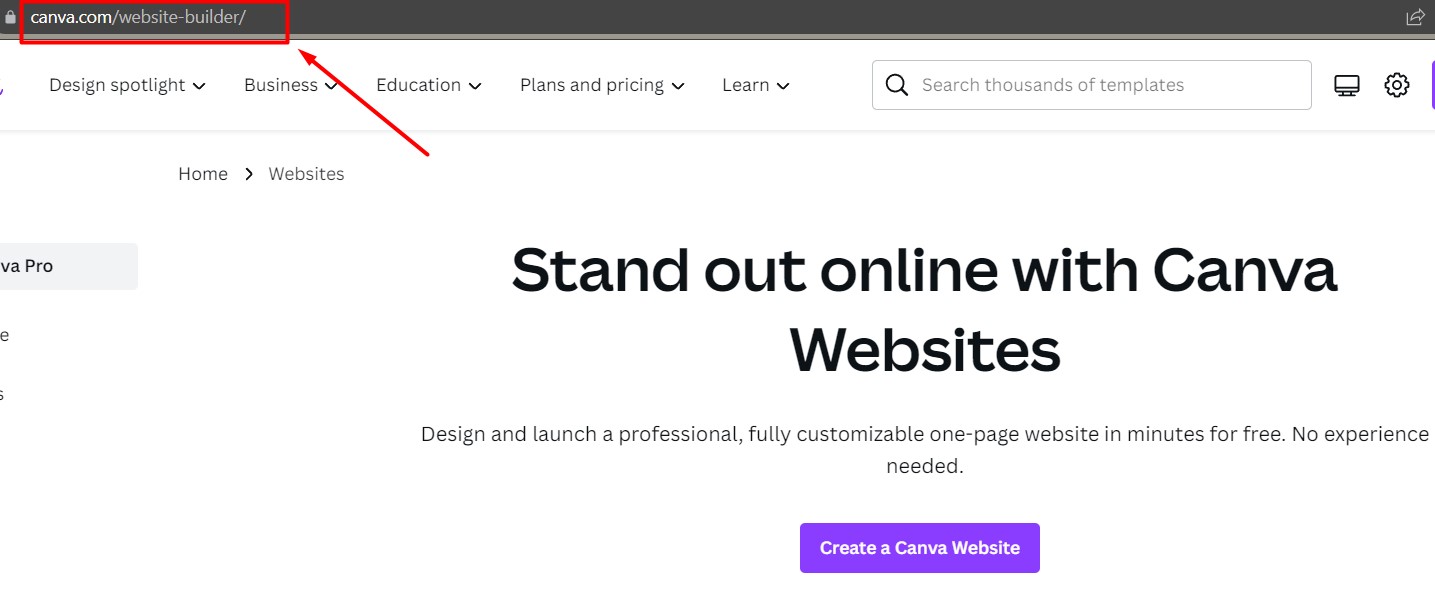
The nice thing about hosting a website on the platform is that you don’t need to work out how to shift the design you’ve created on the platform into a CSS file; all you have to do is to go straight in with their built-in editor!
The website builder tool follows the same conventions as Canva’s standard editor with its drag-and-drop capabilities, wide range of templates, and the ability to collaborate with others on the design.
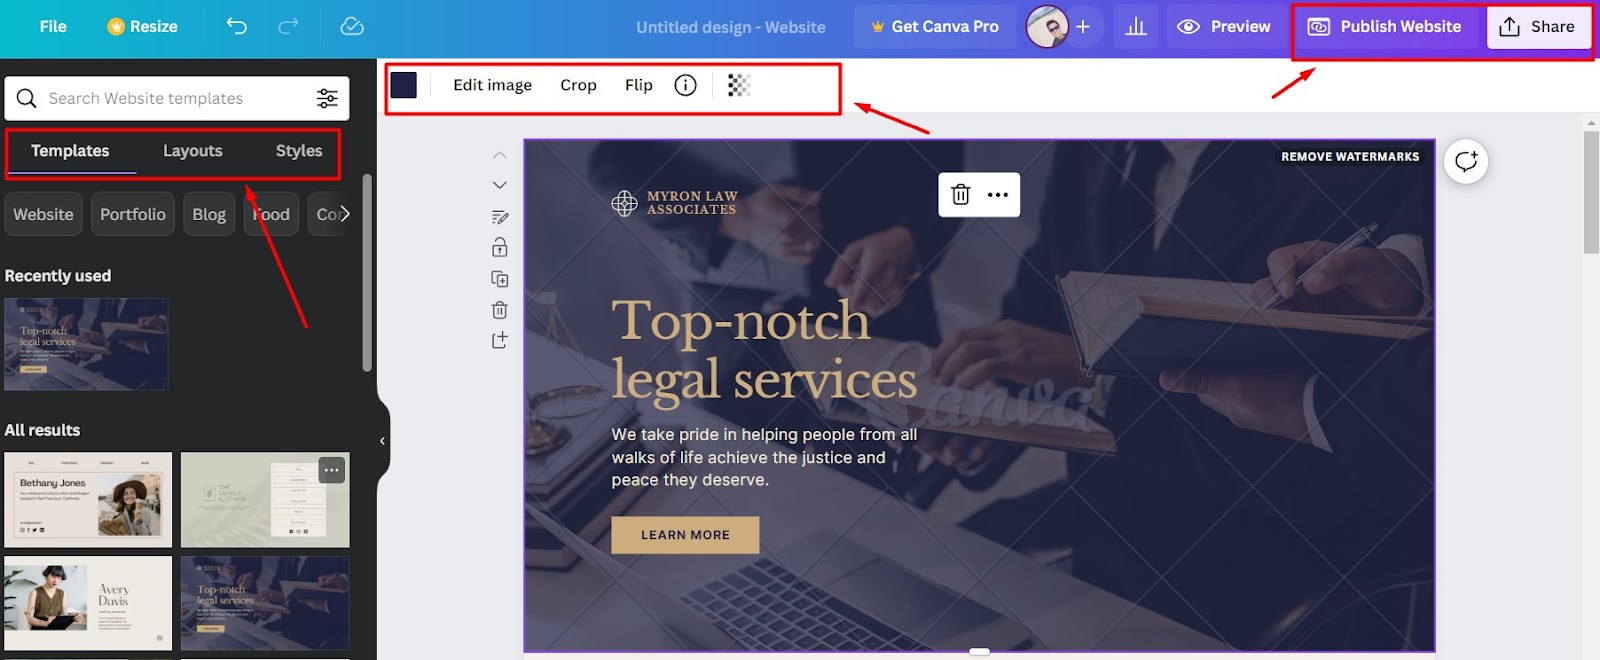
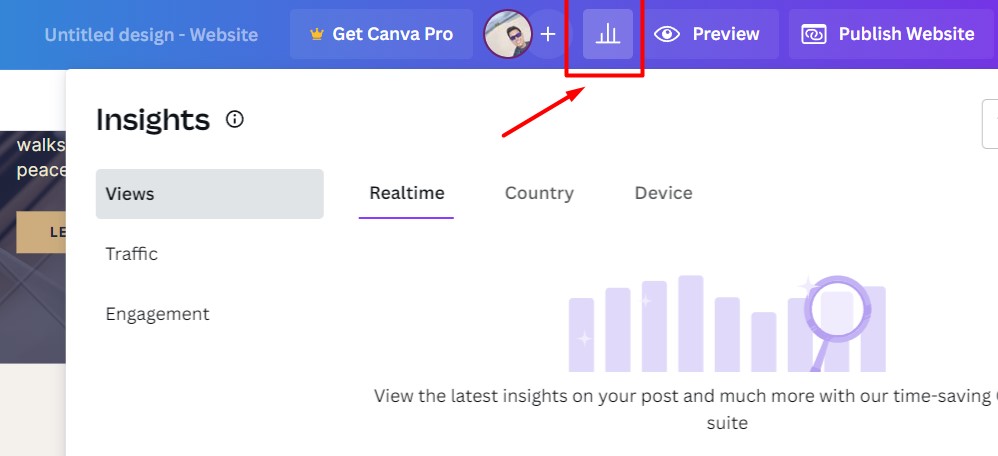
The tool also provides some basic analytics for the website and allows you to have a custom URL if you join one of Canva’s paid plans – making it perfectly capable of handling just about all of your one-page website needs!
7. Record Your Presentations with the Canva Screen Recorder
Recording your presentations is something that’s become even more prevalent post-pandemic.
With more people attending meetings from home or being absent due to health reasons, it’s important to make sure that your hard work is properly displayed to the people who need to see it!
Although people might typically resort to third-party screen recorders or video meeting services to share their presentations, Canva actually provides its own screen recording feature to help you get your presentation where it needs to go.
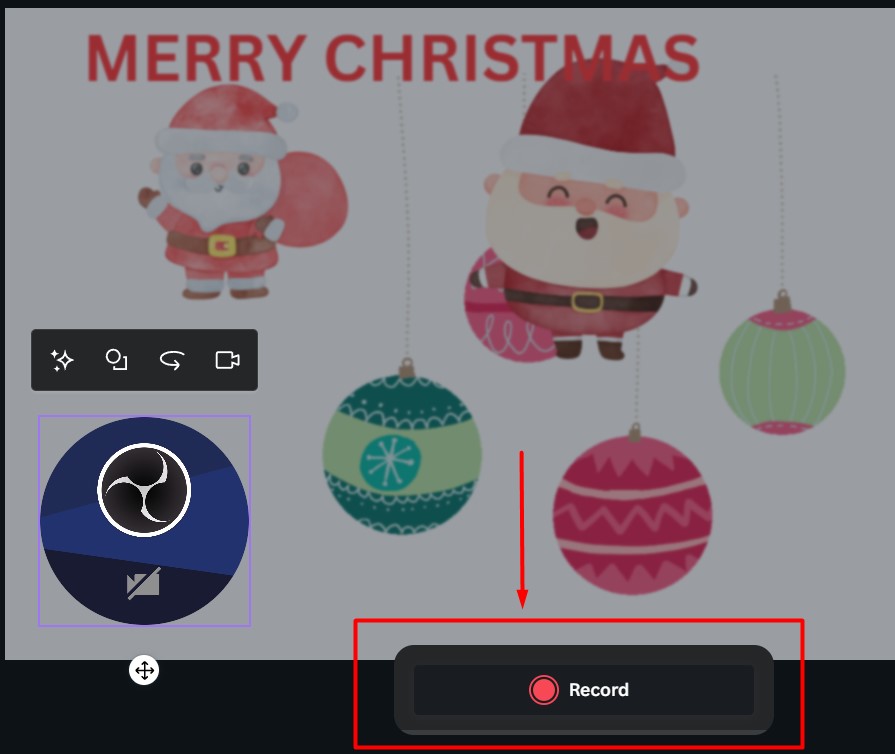
To add your recording to the presentation, go ahead and make a template as usual, then navigate to “Uploads” and “Record Yourself”.
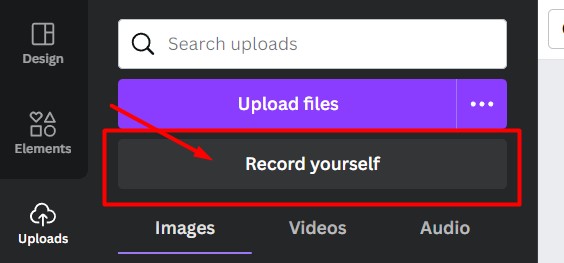
You’ll have the choice of recording only yourself or to share your screen as well. Once you’re done, your video will be automatically added to your design.
However, this actually isn’t the best way to record an actual presentation that you’ve made on Canva!
A better approach involves clicking the “Share” button and then choosing “Present and Record”.
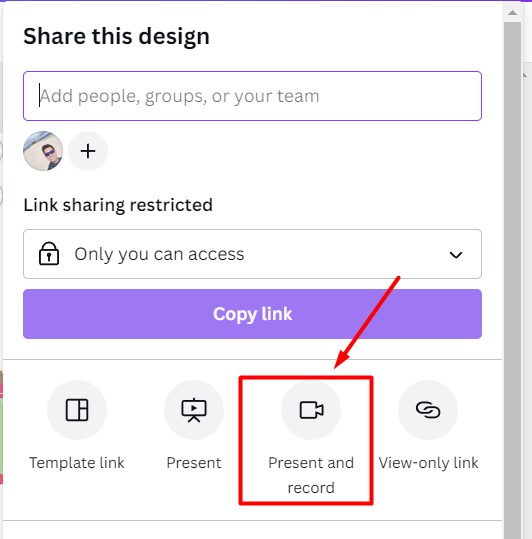
This will record a video of you talking while also documenting the screen you’re presenting the project on. Canva will then compile an MP4 video file once you’ve completed the presentation.
8. Design Your Logo with Canva’s Logo Maker
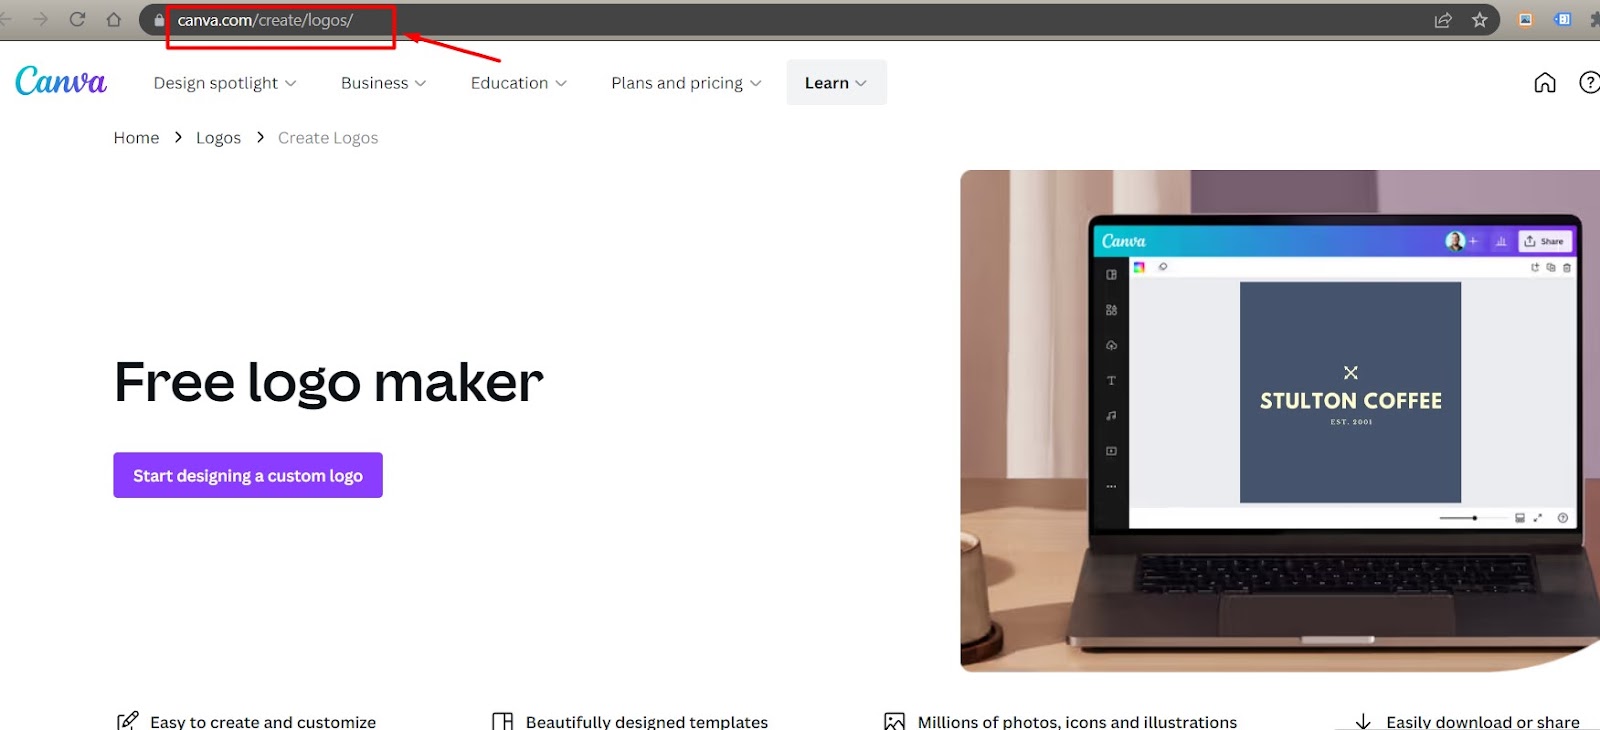
Making a logo is tricky. It’s supposed to encapsulate your brand, while also being simple enough to reproduce and be easily recognizable.
Luckily, this is another creative process that Canva streamlines for you! Just like with many other kinds of design, Canva provides a wide variety of templates to help you create the best logo possible.
The creation process for a logo is similar to other types of design projects on Canva, meaning that it’s typically a quick and easy task.
9. Use Pre-Designed Color and Font Combinations in Canva
One of the most difficult aspects about designing just about anything is choosing the right combination of colors and fonts to ensure maximum aesthetic appeal and readability.
If color theory isn’t your strong suit (or if you struggle thinking of a font that isn’t Arial), Canva’s pre-designed combinations of colors and fonts will help you pick the right combos more quickly!
With a great educational article about the principles of font choice and pairing, Canva immediately makes the process of picking the perfect text style easier. And with a wide selection of fonts to use, you’ll be sure to find something that suits your vision.
Color combinations are also something that can be difficult to get right. You know that you need to incorporate your brand’s classic shade of green, but what would go well with it?
Enter Canva’s pre-created color palettes!
With over 99 pages of curated color picks, finding the perfect combination has never been easier. Even if you can’t find anything that quite hits the spot, you’ll still be exposed to a wide variety of inspiration.
10. Convert Photos into Paintings with Canva’s Painting Effect
Finally, let’s take a quick look at a way to make your photos incredibly unique after you add them to your design.
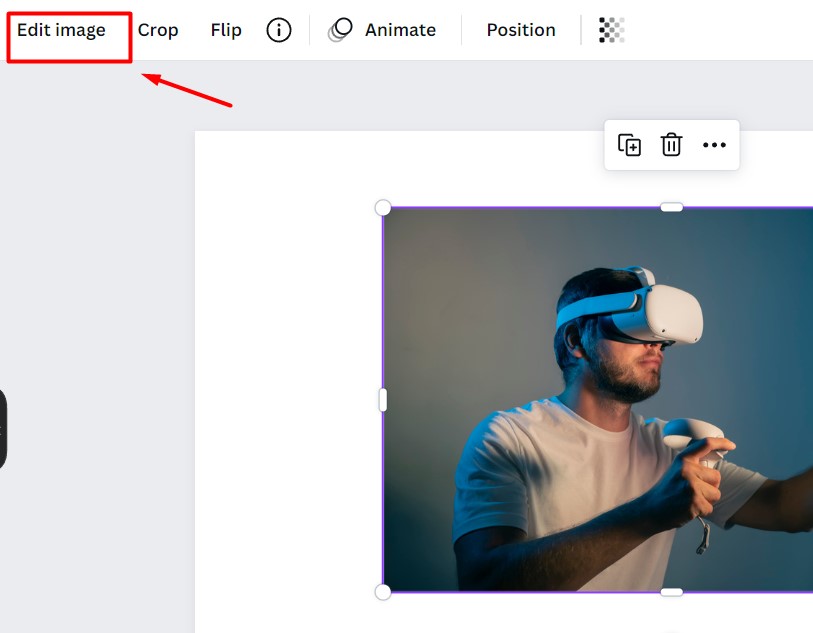
Canva provides a variety of image filters to use for your projects, and one of these even turns photos into a painting! This is great for designs that you want to exude a handcrafted effect, or if you just want to add a touch of class to your existing work.
Finding these effects is as simple as opening your desired image on Canva and then selecting “Edit Image” in the toolbar.
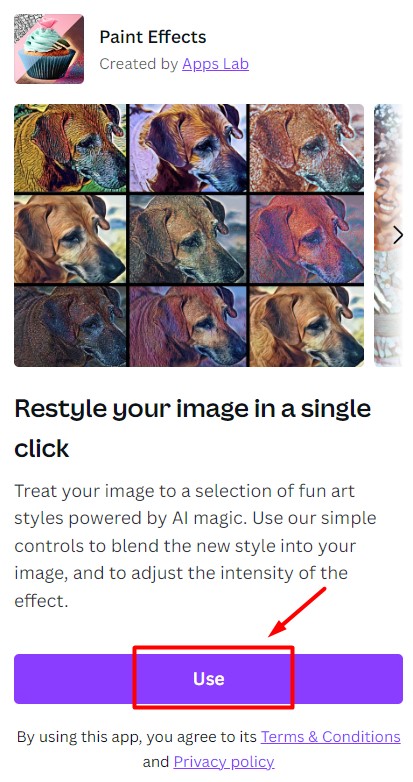
Go to the “Search” bar and type “Paint” and an App called “Paint Effects” will appear.
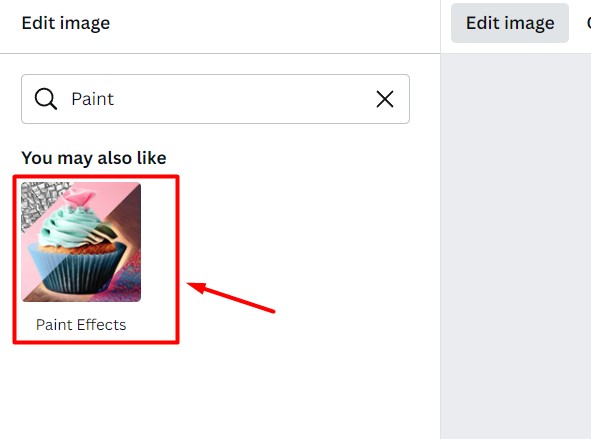
Select “Paint Effects” and click “Use”
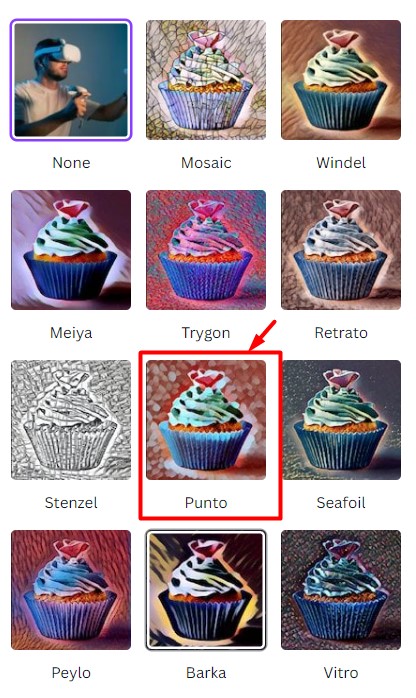
You’ll be met with Canva’s selection of filters. Feel free to choose whichever one will maximize the impact of your design!

In Summary
Canva is a great tool for all kinds of creative work, whether they’re aimed at websites, presentations, PDFs, images, or social media posts!
Because it’s a platform geared toward making graphic designs a whole lot simpler, Canva ensures your project comes out looking professionally made while also being quick and easy to create.
In this guide, we’ve highlighted some of the features in Canva that are typically overlooked – from those that increase productivity while you’re working on a design to those focused on publishing and presenting your hard work!
Hopefully, after reading this article, you’re now ready to go and churn out some one-of-a-kind designs. Get out there, and get creative!